
Christmas Pinwheel Cookies

These festive red, white, and green spiral cookies are tender, buttery, and show-stopping — perfect for holiday cookie trays and gift tins.
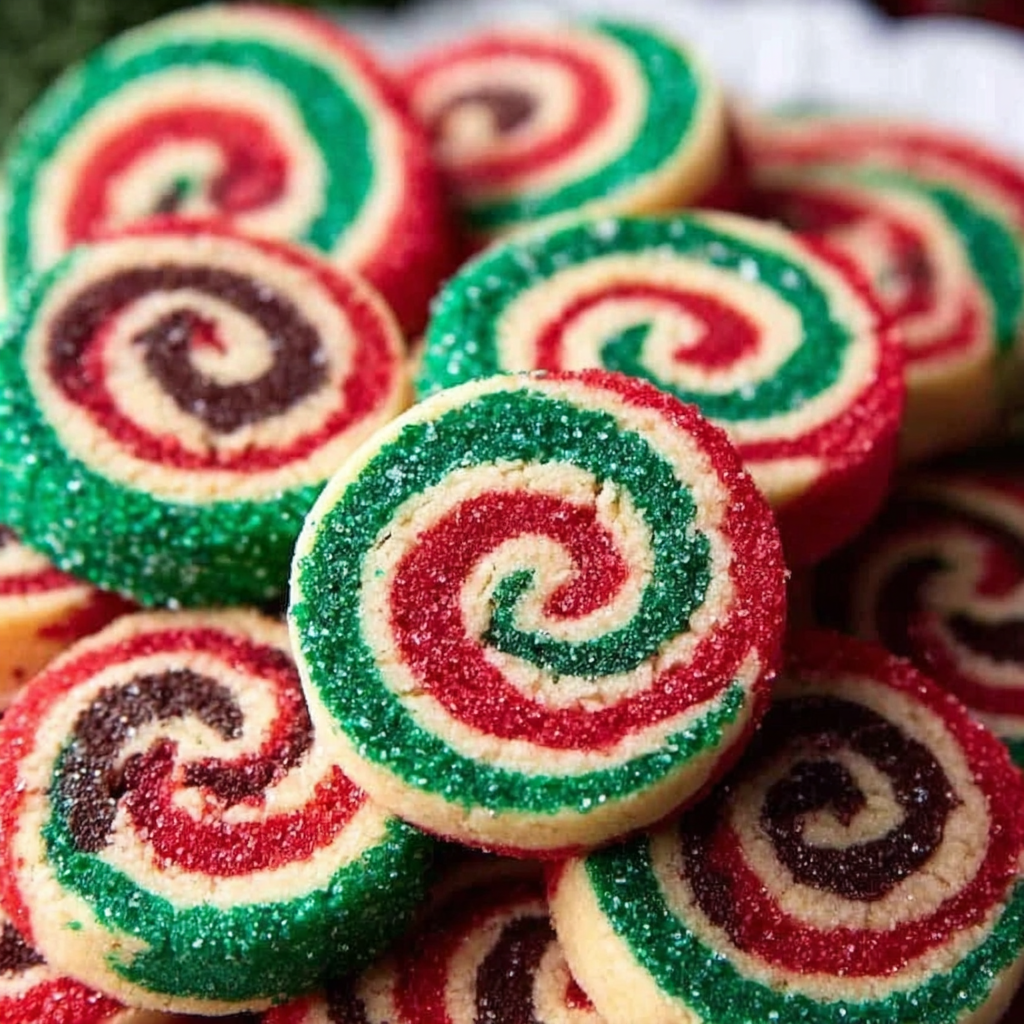
This recipe for Christmas Pinwheel Cookies has been a holiday centerpiece in my kitchen for years. I first discovered the technique the winter I decided to turn simple sugar cookie dough into something whimsical for a cookie swap. The spiral — bright red, crisp white, and evergreen green — instantly elevates a classic sweet into a festive conversation piece. Every year the dough comes out of the fridge and my countertop turns into a little studio of rolling pins, parchment, and sprinkles as I shape long, tight logs into perfect pinwheels. The texture is what keeps people coming back: slightly crisp along the outer edge with a tender, almost shortbread-like center.
What I love most about these is how they balance practicality with theater. They’re simple enough that you can make a few logs ahead, freeze them, and slice-and-bake as needed, yet dramatic enough to make a generous audience gasp when they see a platter full. The dough is forgiving: it handles well, doesn’t over-spread, and tolerates a touch of variation in thickness so you can make larger showy cookies or thinner delicate rounds. Over the years I’ve tweaked chilling times and rolling techniques to get cleaner spirals and a more tender crumb, and I share all of those tips below so you’ll get consistent results the first time.
Why You'll Love This Recipe
- Visually stunning: the red, white, and green spiral creates immediate holiday appeal without complicated decorating.
- Make-ahead friendly: dough logs can be refrigerated or frozen, so you can slice and bake just before serving for maximum freshness.
- Simple pantry ingredients: most items are staples—flour, butter, sugar, an egg—plus a little gel color and sprinkles for fun.
- Reliable texture: crisp edges and a soft, tender center when sliced just under 1/2" and baked 13–15 minutes at 350°F.
- Customizable: swap colors, add citrus zest, or make a chocolate swirl to suit any holiday or celebration.
- Perfect for gifts: these stack and transport well in airtight tins or boxes for neighbors and friends.
Personally, I remember bringing a tin of these to a December potluck and watching people pick them up with delight — both the kids and grandparents loved them. My partner always teases that he pairs them with coffee like a breakfast pastry, and my sister requests the thinner 1/4" slices for her cookie tin because they feel daintier. Over the years these pinwheels have turned into an edible tradition: I make one batch for taste tests and another for sharing.
Ingredients
- All-purpose flour (3 cups): Use a reliable brand such as King Arthur or a trusted supermarket brand. Spoon and level the cups for consistency or, better yet, weigh if you prefer precision. Flour provides structure but overworking it will cause toughness.
- Baking powder (1 teaspoon): Adds a gentle lift so the cookies puff slightly while baking without losing their spiral shape.
- Salt (1/2 teaspoon): Balances the sweetness and rounds out the flavor; use fine granulated salt for even distribution.
- Unsalted butter (1 cup): Room temperature butter creates a tender texture. I recommend European-style butter for extra richness but standard unsalted works beautifully.
- Granulated sugar (1 1/4 cups): Provides structure and crispness. Use straight granulated sugar, not superfine — the creaming process will still produce a light texture.
- 1 large egg: Brings moisture and binding; use room temperature for easier incorporation.
- Vanilla extract (2 teaspoons): Pure vanilla gives the best flavor; swap a teaspoon for almond if you want a nuttier note.
- Gel food coloring (red and green): AmeriColor or Wilton gel colors concentrate color without thinning the dough; start with a little and add more to reach your preferred hue.
- Sprinkles (1 cup), optional: Festive nonpareils or jimmies add color and crunch at the log edges. If avoiding sprinkles, toasted coconut or finely chopped nuts make a great alternative.
- Light corn syrup (1 tablespoon), optional: A thin brushed layer helps sprinkles adhere — water won’t be sticky enough.
Instructions
Mix dry ingredients: Whisk together the flour, baking powder, and salt in a medium bowl until evenly combined. Sifting is optional; whisking breaks up lumps and ensures homogeneity. Set aside so nothing cold interferes with creaming. Cream butter and sugar: In a stand mixer fitted with the paddle (or using a hand mixer), beat the room-temperature butter and granulated sugar at medium speed for 2–3 minutes until light and fluffy. You’re looking for a pale, airy mixture — the sugar crystals should slightly dissolve into the butter without turning greasy. Add egg and vanilla: Reduce mixer speed to low and add the egg and vanilla. Mix until completely incorporated. If the mixture looks curdled, don’t worry — it will come together once you add the dry ingredients. Add flour: With the mixer on low, add the dry ingredients gradually and mix until just a few streaks of flour remain. Stop and scrape the bowl with a spatula; finish folding by hand if necessary. The dough should be soft and workable, not sticky. Divide and color: Divide the dough into three equal portions (about 10 ounces each if you weigh them). Leave one portion plain and color the other two with gel food coloring: one red, one green. Knead gently or pulse in the mixer briefly — too much mixing develops gluten and can toughen the dough. Chill discs: Form each colored portion into a flat disc, wrap tightly in plastic, and refrigerate for at least 45 minutes so the dough firms up for rolling. Roll into rectangles: Between two sheets of parchment, roll each disc into a long rectangle approximately 6 x 13 inches. Use the parchment to lift and move dough without excess flour. Keep the surface and dough cold to prevent sticking and distortion. Stack and roll: Stack the rectangles in order: green on the bottom, plain white in the middle, red on top. Starting from one long edge, roll the stack into a tight spiral using the parchment to guide and keep it even. Aim for a firm, uniform log — gaps create imperfect spirals. Optional sprinkle coating: Brush a very thin layer of light corn syrup over the outside of the log, then roll the log on a baking sheet of sprinkles so the edge becomes coated. Press gently to help them adhere. Wrap tightly in plastic and refrigerate again until firm, at least 45 minutes. Slice and bake: Preheat oven to 350°F and line baking sheets with parchment. Using a large sharp chef’s knife, slice rounds just under 1/2" thick (or 1/4" for more, thinner cookies) and place on the sheets with space to spread. Bake 13–15 minutes until puffed and the center has lost its raw shine. Edges should be lightly golden while centers remain tender.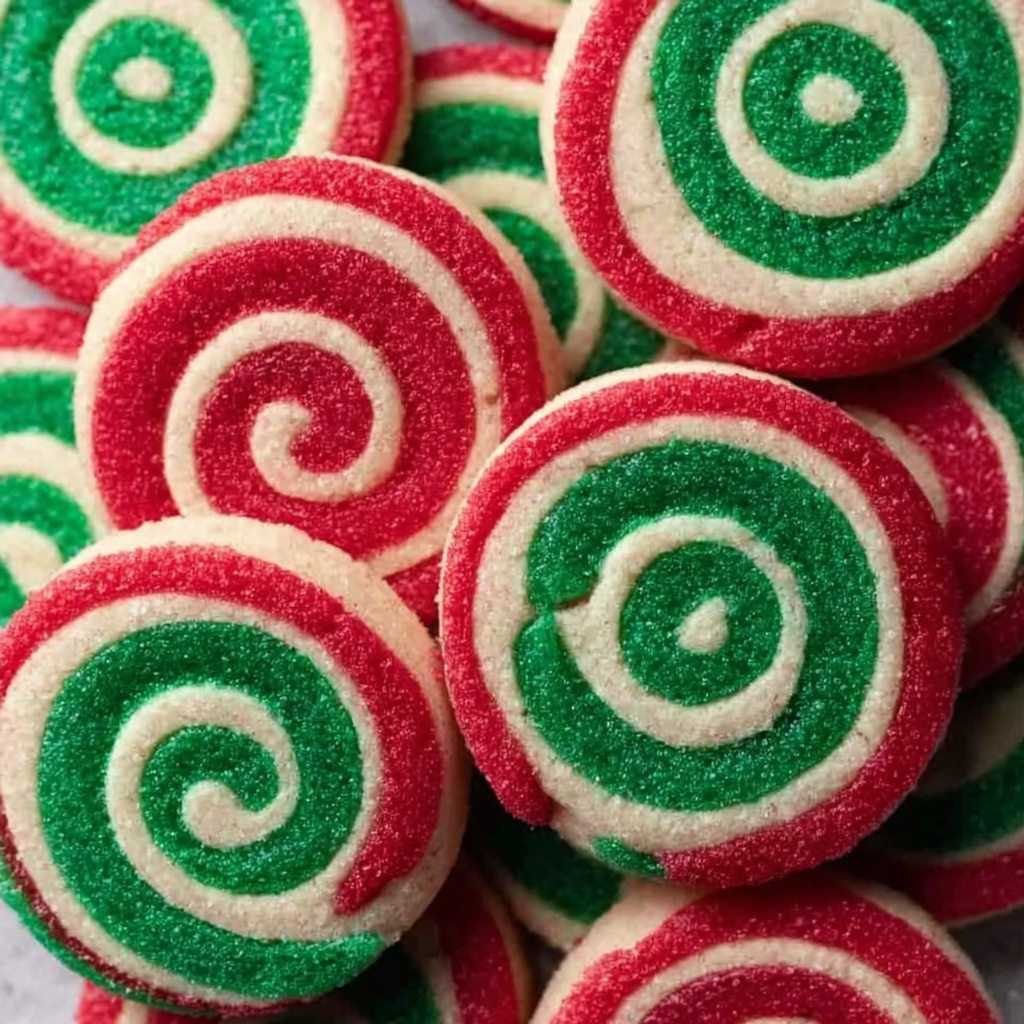
You Must Know
- Storage: Store baked cookies in an airtight container at room temperature for 4–5 days for best texture and flavor.
- Freezing: Unbaked frozen logs keep up to 3 months; thaw slightly before slicing. Baked cookies can be frozen for 1 month.
- Nutrition: These are butter- and sugar-forward festive treats — enjoy in moderation and store away from humid areas to keep crispness.
- Technique: Chilling between assembly steps is crucial to maintain a clean spiral and prevent colors from bleeding.
- Slicing: Use a very sharp, large knife and a steady hand. If the knife drags, chill the log a bit longer or dip the blade in hot water and dry it before slicing.
My favorite aspect is the ritual of rolling and stacking the rectangles; the first slice always feels like unwrapping a tiny present. Guests often ask if the colors were painted on — the surprise when I say it’s simply layered dough is priceless. Over the years I’ve learned that the simplest changes — better chilling, a slightly sharper knife, and using gel colors — make the biggest difference in the final presentation.
Storage Tips
For short-term storage keep cookies in a single layer or in layers separated by parchment in an airtight tin at room temperature for 4–5 days. For longer storage, arrange baked cookies in a freezer-safe container with parchment between layers and freeze up to 1 month; thaw at room temperature. For unbaked logs, wrap tightly in plastic and place in a freezer bag; they’ll keep up to 3 months — slice directly from slightly thawed logs and add a minute or two to baking time if still cold.
Ingredient Substitutions
Butter can be swapped for salted butter if you reduce added salt by about 1/4 teaspoon. If you need an egg-free version, try a commercial egg replacer or 3 tablespoons aquafaba, but texture will be slightly different. For a chocolate swirl, replace 1/4 cup of flour in one log with 2 tablespoons cocoa powder and a touch of additional sugar; this yields a rich brown spiral. Sprinkles can be replaced with finely chopped nuts or toasted coconut; note that nuts add texture while coconut adds chew.
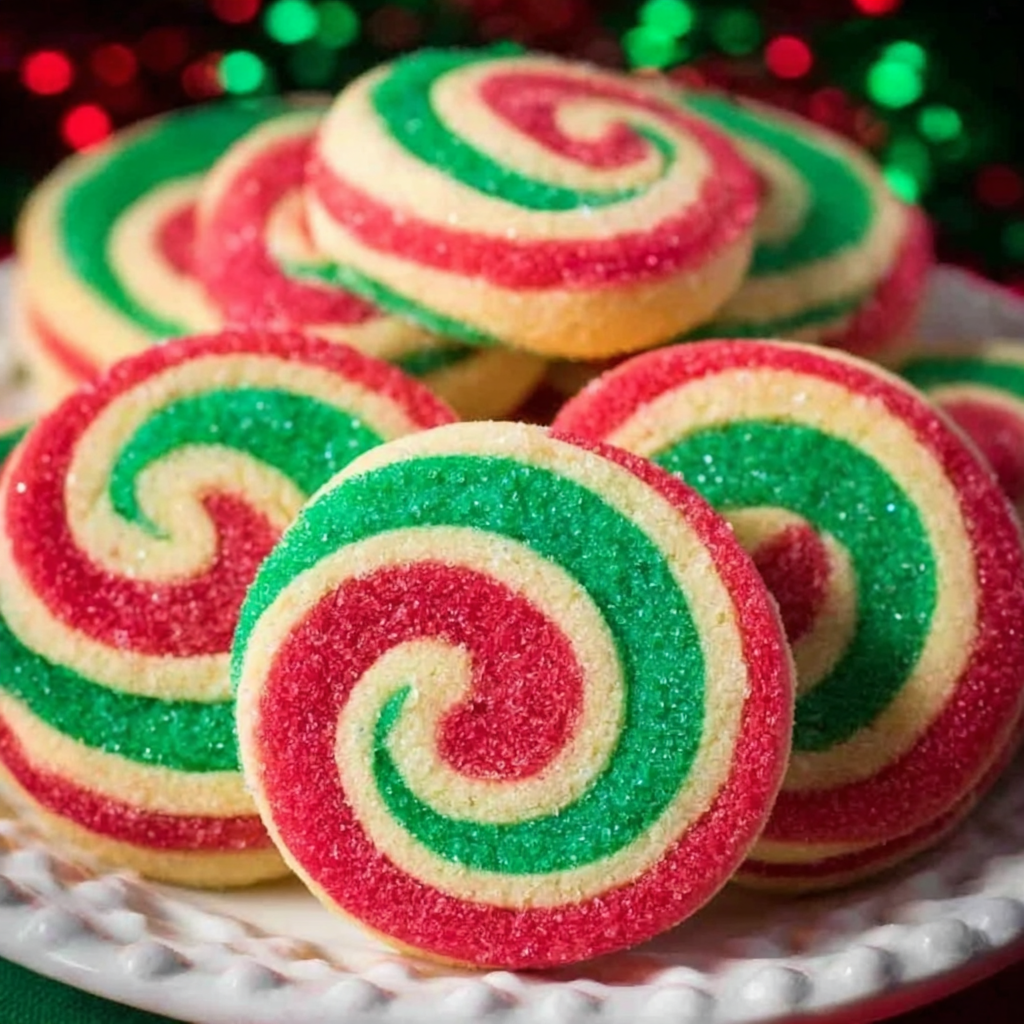
Serving Suggestions
Arrange on a festive platter with powdered sugar-dusted evergreen sprigs for a classic holiday look. Pair with hot cocoa, mulled cider, or a strong espresso. For cookie exchanges, layer with parchment in holiday tins. For a tea party, serve thinner 1/4" slices with delicate china; for gift tins, go slightly thicker so they hold up during transport.
Cultural Background
The spiral cookie technique is a modern adaptation of rolled and layered pastry traditions — think of rolled breads and laminated doughs — but applied to simple cookie dough so home bakers can make dramatic designs without advanced techniques. The holiday red-white-green palette borrows from centuries-old European color associations for Christmas, but the pinwheel shape itself is playful and universal, adopted in countless seasonal variations worldwide.
Seasonal Adaptations
Change the color scheme to match any holiday: black-and-white for Halloween, orange and brown for Thanksgiving, or rainbow stripes for birthdays. Add citrus zest for a bright summer version or replace part of the vanilla with almond extract for a vintage holiday flavor. For Valentine’s Day, swap red and pink — and consider rolling half the log in crushed freeze-dried strawberries for a tart edge.
Meal Prep Tips
Make multiple logs at once: they refrigerate and freeze well, so bake fresh batches on the day you need them. Label and date logs in the freezer so you always know what’s inside. When prepping for an event, slice and par-bake a trial cookie to confirm bake time for your desired thickness before committing the whole tray.
These pinwheels are a joyful, dependable addition to any holiday baking list. With a little planning — chilling at the right moments and using a sharp knife — you’ll produce tidy spirals that taste as good as they look. Invite a friend to roll with you and turn it into a festive afternoon; the laughter and crumbs make the best memories.
Pro Tips
Chill the dough thoroughly after stacking so slices stay neat and spirals remain tight when cut.
Use gel food coloring to avoid adding extra liquid which can soften the dough too much.
If the log is difficult to slice, refrigerate a bit longer or warm and dry the knife between cuts.
Roll the dough between parchment to avoid adding extra flour which can make the cookies tough.
This nourishing christmas pinwheel cookies recipe is sure to be a staple in your kitchen. Enjoy every moist, high protein slice — it is perfect for breakfast or as a wholesome snack any time.
Tags
Christmas Pinwheel Cookies
This Christmas Pinwheel Cookies recipe makes perfectly juicy, tender, and flavorful steak every time! Serve with potatoes and a side salad for an unforgettable dinner in under 30 minutes.
Instructions
Whisk dry ingredients
Whisk together all-purpose flour, baking powder, and salt in a medium bowl until evenly combined. Set aside.
Cream butter and sugar
In a stand mixer fitted with the paddle attachment, beat room-temperature unsalted butter and granulated sugar on medium speed for 2–3 minutes until pale and fluffy.
Add egg and vanilla
Reduce mixer to low speed and add the large egg and vanilla extract. Mix until fully incorporated and smooth.
Incorporate flour
With mixer on low, add the dry ingredients gradually and mix until only a few streaks of flour remain. Scrape the bowl and finish folding by hand if needed.
Divide and color dough
Divide the dough into three equal portions. Leave one plain and color the other two with gel food coloring into red and green. Knead or pulse briefly to distribute color.
Chill dough discs
Form each colored portion into a flat disc, wrap tightly in plastic wrap, and refrigerate for at least 45 minutes until firm.
Roll into rectangles
Roll each chilled disc between sheets of parchment into long rectangles about 6 x 13 inches. Avoid adding extra flour.
Stack and roll spiral
Stack rectangles in order: green, plain, red. Use the parchment to help roll the stacked layers into a tight spiral log.
Coat with sprinkles (optional)
If using sprinkles, brush a thin layer of light corn syrup around the log and roll it in sprinkles until evenly coated. Wrap and chill again until firm.
Slice and bake
Preheat oven to 350°F. Slice the chilled log into rounds just under 1/2" thick with a large sharp knife. Place on parchment-lined sheets and bake 13–15 minutes until centers lose their raw shine and edges are lightly golden.
Cool and store
Allow cookies to cool on the baking sheet for a few minutes, then transfer to a rack. Store cooled cookies in an airtight container at room temperature up to 4–5 days.
Last Step: Please leave a rating and comment letting us know how you liked this recipe! This helps our business to thrive and continue providing free, high-quality recipes for you.
Nutrition
Did You Make This?
Leave a comment & rating below or tag
@natasharecipes on social media!
Categories:
You might also like...
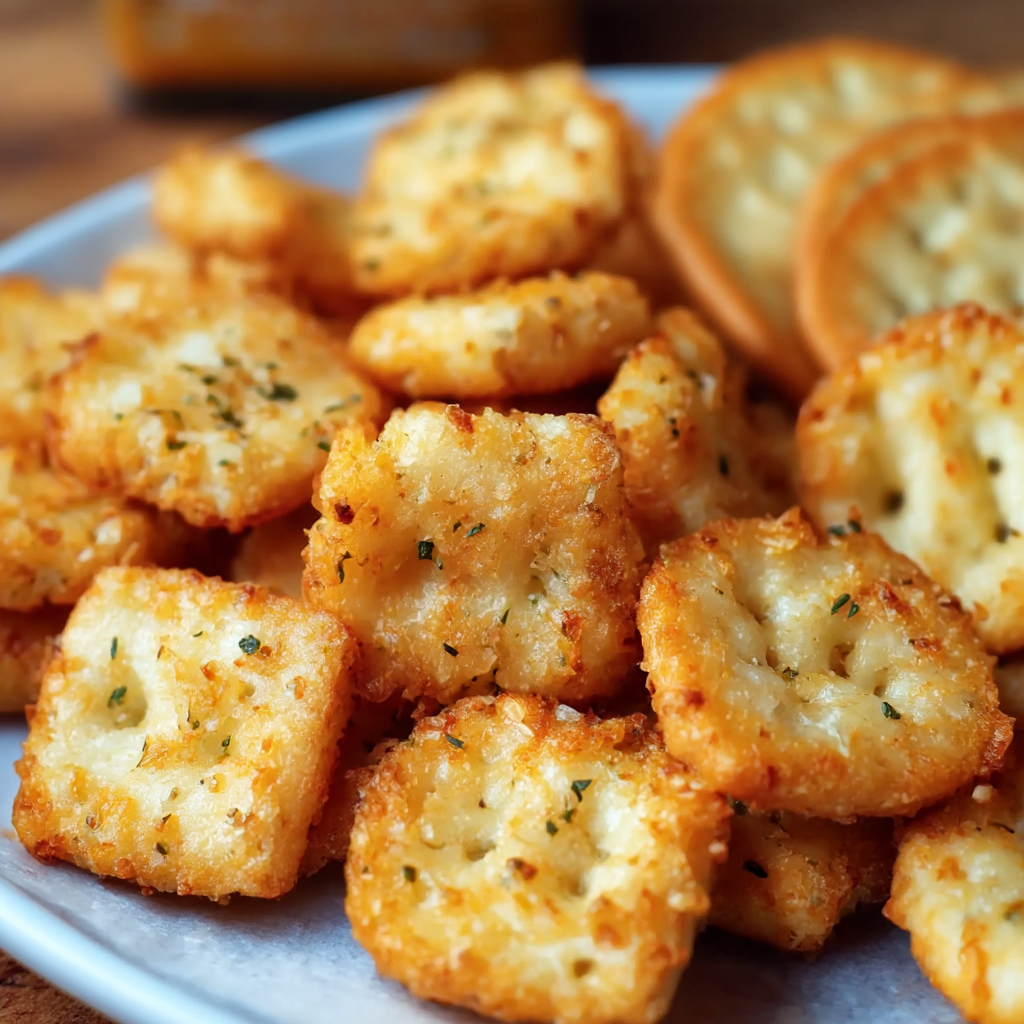
Garlic Bread Ritz Bits
Cheesy Ritz Bits tossed in garlic butter, Italian herbs, and parmesan, then baked until golden and irresistibly crisp — a perfect party snack or weeknight nibble.
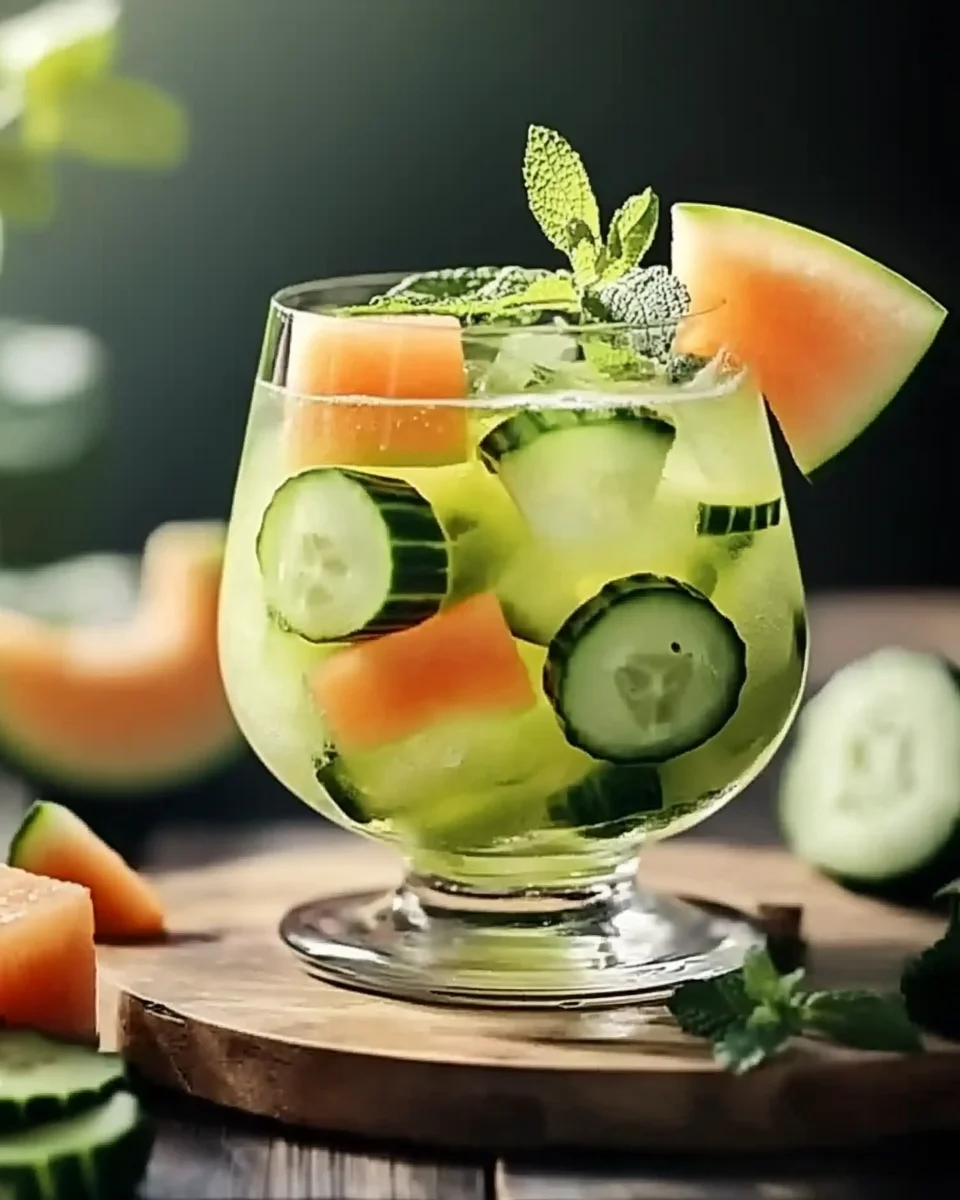
Cucumber Melon Splash: Discover This Refreshing Drink Recipe!
A cooling and bright beverage made with fresh watermelon and cucumber, sparkling water, and a hint of lime. Perfect for hot afternoons and easy to make ahead.
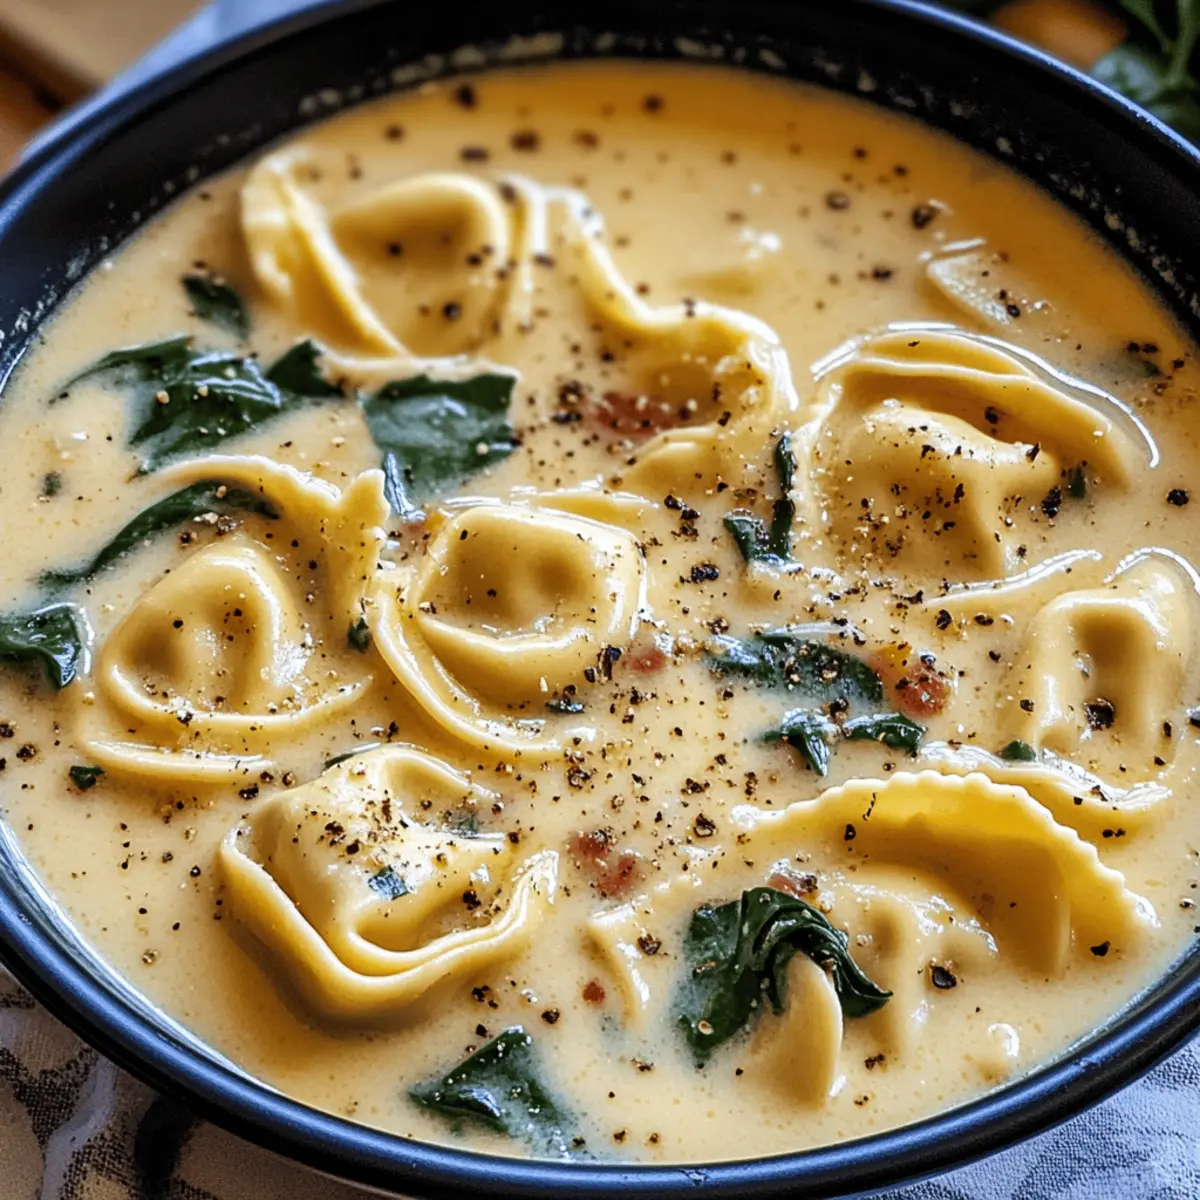
Creamy Tuscan Garlic Tortellini Soup: Your Cozy Italian Escape
A warm, vegetarian Tuscan-style soup with cheese tortellini, sun-dried tomatoes, spinach and a silky garlic cream — ready in just 30 minutes.
Did You Make This?
Leave a comment & rating below or tag @natasharecipes on social media!
Rate This Recipe
Share This Recipe
Enjoyed this recipe? Share it with friends and family, and don't forget to leave a review!
Comments (1)
This recipe looks amazing! Can't wait to try it.
Comments are stored locally in your browser. Server comments are displayed alongside your local comments.
Hi, I'm Natasha!
What's Popular
30-Minute Meals!
Join to receive our email series which contains a round-up of some of our quick and easy family favorite recipes.