
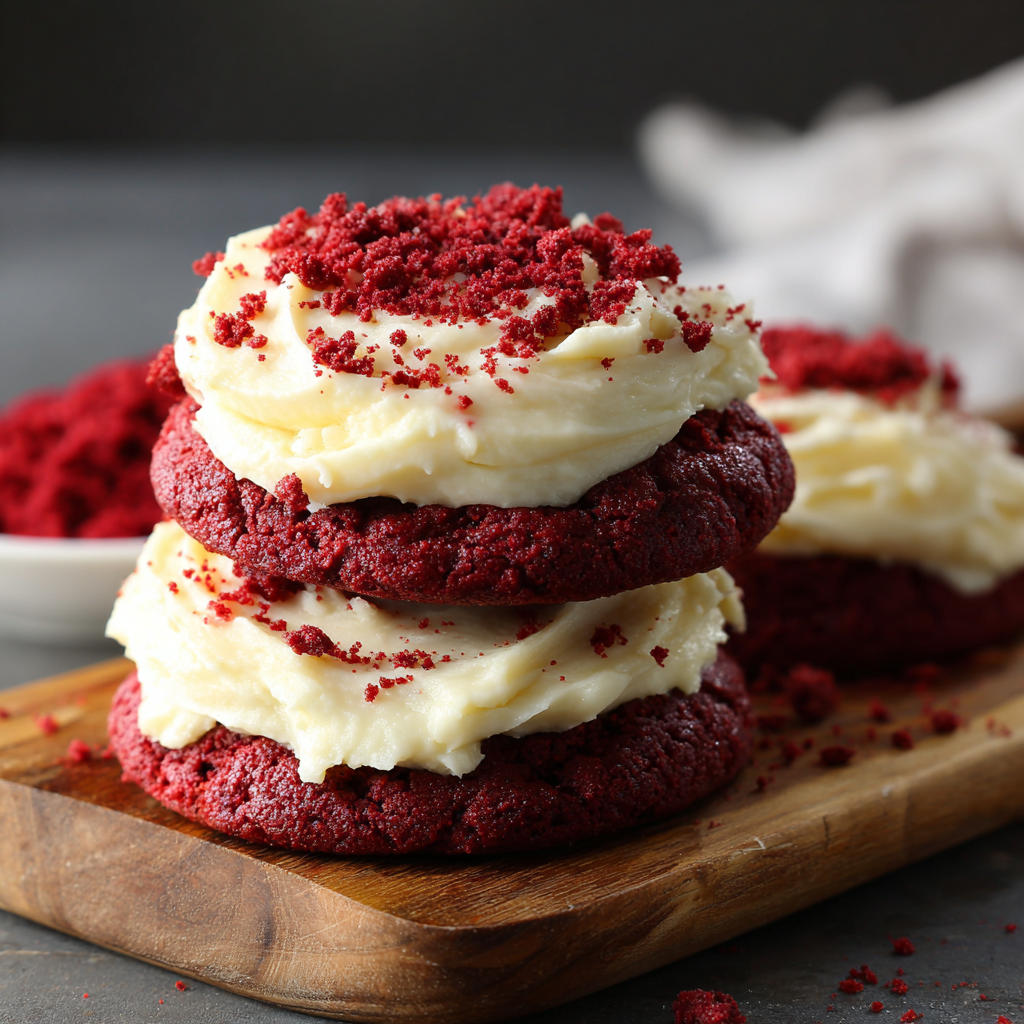
Frosted Red Velvet Cupcake Cookies

A delightful cross between chewy cookies and tender cupcakes: domed red velvet cookie centers topped with silky cream cheese frosting and cookie crumb garnish.
This recipe is a love letter to everything red velvet and the comforting nostalgia of a homemade bakery. I first made these when I wanted the height and tender crumb of a cupcake but needed the portability of a cookie for a potluck. The first time my family tried them, they could not believe how the centers domed up like miniature cupcakes while still keeping the chew you expect from a cookie. That contrast — airy, slightly cakey interior and chewy edges — is what makes these so memorable.
I discovered the balance between texture and flavor after a few experiments with fat ratios and leavening. Using both butter and a neutral oil yields a cookie that spreads just enough while keeping a soft center. The cream cheese frosting brings that classic tangy-sweet finish, and a scattering of cookie crumbs on top adds an irresistible homemade flourish. These are perfect for holiday cookie plates, classroom parties, or any time you want a dessert that feels like a special treat but is surprisingly simple to make.
Why You'll Love This Recipe
- Hybrid texture: Domed, tender centers with chewy outer edges give you the best aspects of cupcakes and cookies in a single bite.
- Pantry-friendly ingredients: Most components are common staples — flour, sugar, cocoa, butter — with only a little specialized food coloring needed.
- Quick turnaround: Active prep takes about 20 minutes and baking is just 12 minutes per batch, so you can have treats ready in under an hour.
- Make-ahead friendly: Unfrosted cookies freeze well for up to 3 months; frost after thawing for picture-perfect results.
- Crowd-pleasing: The rich cream cheese frosting and vivid color make these a festive option for celebrations or gift boxes.
- Customizable: Easy to adapt to smaller or larger batches, and you can swap frostings or add mix-ins like white chocolate chips.
When I brought a tin of these to a neighborhood gathering, everyone asked for the recipe. My kids labeled them "cupcake cookies" and loved that they could eat one without a plate. Over the years I refined the dough so the cookies puff and set without overbrowning — a sweet little triumph that always earns compliments.
Ingredients
- All-purpose flour (1 & 1/2 cups): Spoon into the measuring cup and level off. This structure-providing flour gives the cookies a tender crumb without becoming cakey if measured properly.
- Unsweetened cocoa powder (1/4 cup): Use a good-quality natural cocoa for bright flavor; Dutch-processed will deepen color but may slightly alter acidity.
- Instant milk powder (1 tablespoon): Adds richness and helps the interior stay tender; nonfat instant milk works best.
- Cornstarch (1 tablespoon): A little cornstarch keeps the centers soft by inhibiting gluten formation.
- Baking powder & baking soda: Small amounts provide lift and that cupcake-like dome without excess rise.
- Unsalted butter (1/2 cup / 1 stick): Softened to room temperature for easy creaming; provides flavor and structure.
- Vegetable oil (3 tablespoons): A neutral oil helps keep the centers soft — you can use canola or light-tasting sunflower oil.
- Brown sugar & granulated sugar (each 1/2 cup): The mix of sugars balances chewiness and crisp edges; light or dark brown sugar both work.
- Egg (1 large) & vanilla (1 teaspoon): The egg supplies moisture and binding; vanilla adds a sweet background note.
- White vinegar (1 teaspoon): Reacts with baking soda to create lift and preserves the bright red hue when combined with the food coloring.
- Red liquid-gel food coloring (1 to 2 teaspoons): Gel colors concentrate pigment without adding extra liquid; add gradually to reach your desired shade.
- Cream cheese (3 ounces) & butter for frosting (6 tablespoons): Use full-fat cream cheese for smooth, stable frosting; soften both to room temperature for lump-free mixing.
- Powdered sugar (1 & 1/2 cups): Sift if lumpy to ensure a silky frosting texture.
Instructions
Preheat and prepare: Set the oven to 350°F and line two large baking sheets with parchment paper. I like to position racks in the middle and lower third so cookies get even heat without top scorching. Allow sheets to cool between batches if baking more than one sheet at a time. Whisk dry ingredients: In a medium bowl whisk together the flour, cocoa, instant milk powder, cornstarch, baking powder, baking soda, and salt until evenly blended. This ensures no pockets of leavening and a uniform crumb. Cream fats and sugars: In a large bowl whisk the softened butter, oil, brown sugar, and granulated sugar until smooth and homogenous. You can use a sturdy whisk or a hand mixer on low; the goal is even distribution rather than aeration. Add egg, vanilla, vinegar, and color: Whisk in the egg and vanilla, then add the vinegar. Stir in 1 teaspoon of red gel food coloring and add more if the shade is too pale. Expect the dough to brighten after dry ingredients are folded in — the acid and cocoa interaction affects the hue. Fold in dry ingredients and portion: Gently fold the dry mix into the wet until a thick, slightly sticky dough forms. Use a large 3 to 4 tablespoon cookie scoop to portion generous mounds of dough onto the parchment-lined sheets, leaving roughly 3 inches between cookies for spread. Bake and cool: Bake on the center rack for 12 to 15 minutes, until cookies are puffed and the bottoms are a very light golden brown. They’ll look slightly underdone in the center — that’s perfect. Cool on the sheet for 5 minutes, then transfer to a wire rack to cool completely before frosting. Make the frosting: Beat the cream cheese and softened butter together until completely smooth, then add vanilla and powdered sugar. If the frosting is too soft to pipe, chill it in the fridge for 30 to 60 minutes until firmed up. Frost and decorate: Pipe a swirl of frosting onto each cooled cookie. If any cookies have irregular tops, crumble them and sprinkle crumbs over the frosting for decoration and texture contrast.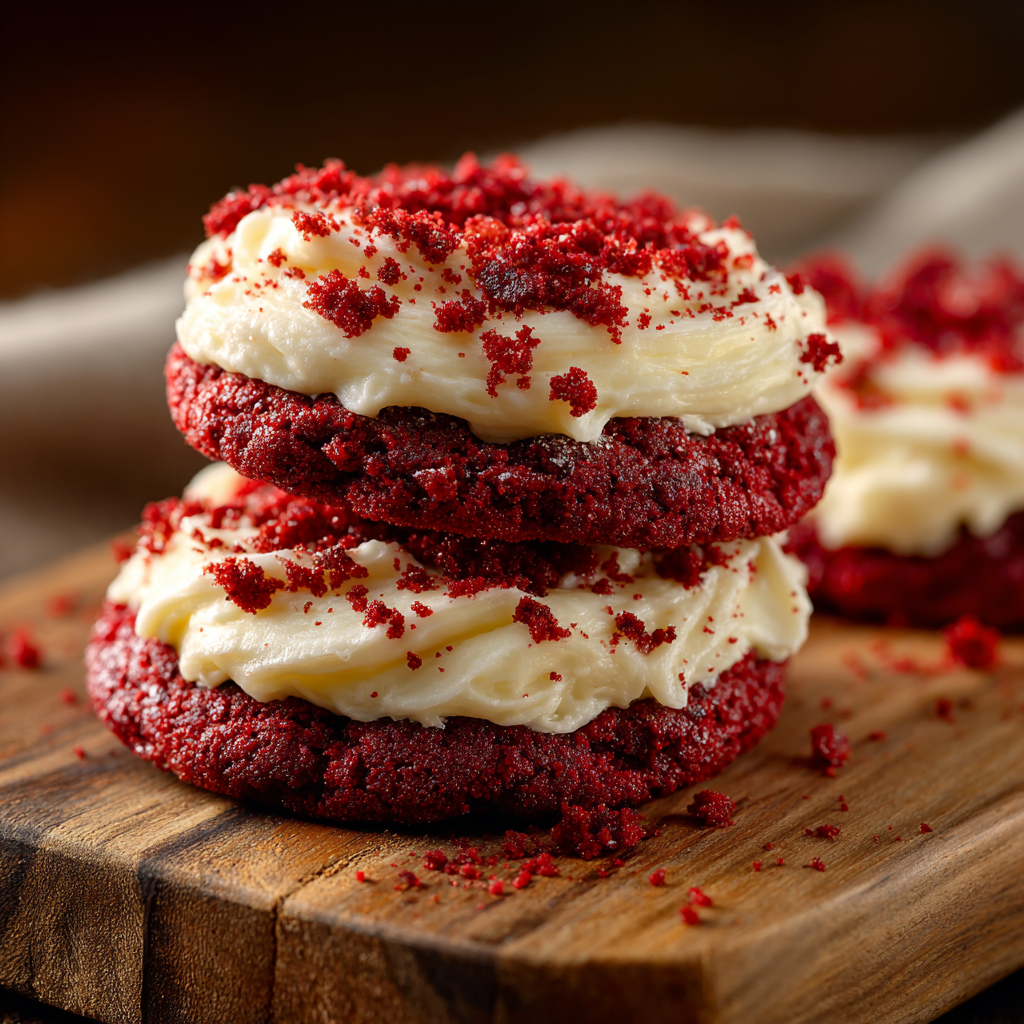
You Must Know
- These keep well refrigerated for up to 4 days; store in an airtight container to preserve the frosting’s texture.
- Unfrosted cookies freeze for up to 3 months; thaw completely before frosting to avoid condensation on the frosting surface.
- High in calories and sugar per serving — perfect as an occasional indulgence or party treat rather than everyday snacking.
- Small differences in food coloring type (gel vs. liquid) affect moisture; prefer gel to avoid changing dough hydration.
My favorite part is watching the cookies dome while baking — it always feels like a tiny triumph when a batch puffs perfectly. I’ve gifted these around the holidays and the vivid color always draws a crowd, especially when you let kids help with the piping (supervised!). Each batch has turned into a family memory, from neighborhood cookie swaps to birthday pick-me-ups.

Storage Tips
Store frosted cookies in a single layer or separate layers with parchment to prevent sticking. At room temperature they last up to 24 hours, refrigerated up to 4 days. For longer storage, freeze unfrosted cookies in a single layer on a baking sheet, then transfer to a freezer-safe bag for up to 3 months. Thaw fully before frosting. To reheat chilled cookies, bring to room temperature for 20 minutes or give them a 10-second blast in the microwave to soften slightly before serving, but avoid overheating as the frosting will soften.
Ingredient Substitutions
If you’re out of instant milk powder, a tablespoon of heavy cream added to the wet ingredients can add richness, although it changes hydration slightly. Swap light brown sugar for dark for deeper molasses flavor. If you prefer a vegan version, use vegan butter and a flax egg, and swap cream cheese for a stabilized vegan cream cheese — texture and flavor will shift, so expect a less tangy frosting. For color, powdered color or gel is best; avoid liquid food coloring which can make the dough too wet.
Serving Suggestions
Serve them on a dessert platter with other holiday cookies; they pair beautifully with a cup of strong coffee or hot chocolate. Garnish with a few crumbs or a tiny sprinkle of cocoa on top. For a party, pipe frosting in a tall swirl to emphasize the cupcake illusion, and consider mini cupcake liners under each cookie for a playful presentation.
Cultural Background
Red velvet has roots in Southern American baking, traditionally known for its striking red color and subtle cocoa flavor paired with cream cheese or ermine frosting. These cookie adaptations take that classic profile and translate it into a handheld format, honoring the familiar tang of cream cheese while offering a modern twist on nostalgic flavors.
Seasonal Adaptations
In winter, add a pinch of cinnamon or a half teaspoon of orange zest to the dough for warming notes. For Valentine’s Day, frost with a pale-pink cream cheese tinted with a touch of raspberry puree. Summer gatherings call for lighter accents: top with a thin glaze of white chocolate instead of a heavy swirl to keep things refreshingly sweet.
Meal Prep Tips
For efficient prep, make the cookie dough the day before and portion scoops onto a parchment-lined tray; wrap and refrigerate overnight. Bake fresh the following day to preserve the domed texture. If you plan to freeze, cool baked cookies fully, freeze on a sheet, then store in an airtight container. Frost only after thawing to avoid sogginess.
These frosted red velvet cupcake cookies always bring a little extra cheer to gatherings — they’re colorful, comforting, and surprisingly easy to make. I hope you make them your own and create new memories around the kitchen with friends and family.
Pro Tips
Use gel food coloring to avoid adding extra liquid that alters cookie texture.
Chill the frosting if it’s too soft before piping to get clean swirls.
Measure flour by spooning into the cup and leveling to avoid dense cookies.
Bake until the edges are very lightly golden; centers should look slightly underbaked for a tender interior.
This nourishing frosted red velvet cupcake cookies recipe is sure to be a staple in your kitchen. Enjoy every moist, high protein slice — it is perfect for breakfast or as a wholesome snack any time.
Tags
Frosted Red Velvet Cupcake Cookies
This Frosted Red Velvet Cupcake Cookies recipe makes perfectly juicy, tender, and flavorful steak every time! Serve with potatoes and a side salad for an unforgettable dinner in under 30 minutes.
Ingredients
For the red velvet cookies
For the cream cheese frosting
Instructions
Preheat and prepare
Preheat the oven to 350°F. Line two large baking sheets with parchment paper and position oven racks for even heat distribution.
Combine dry ingredients
Whisk together the flour, cocoa powder, milk powder, cornstarch, baking powder, baking soda, and salt until evenly blended to prevent pockets of leavening.
Cream fats and sugars
In a large bowl whisk butter, vegetable oil, brown sugar, and granulated sugar until smooth. This creates an even base that balances spread and chew.
Add egg, vanilla, vinegar, and color
Whisk in the egg and vanilla. Add the vinegar and 1 teaspoon of red gel food coloring, adding more to reach desired intensity. Expect the dough color to deepen after mixing in the dry ingredients.
Fold dry into wet and scoop
Fold the dry ingredients into the wet until a thick, slightly sticky dough forms. Use a 3 to 4 tablespoon cookie scoop to portion dough onto prepared sheets, spacing about 3 inches apart.
Bake and cool
Bake in the center of the preheated oven for 12 to 15 minutes until puffed and the bottoms are a very light golden brown. Cool on the sheet for 5 minutes, then transfer to a wire rack to cool completely before frosting.
Make frosting
Beat cream cheese and softened butter until smooth, add vanilla and powdered sugar, and mix until silky. Chill if frosting is too soft to pipe.
Frost and decorate
Pipe or spread frosting onto cooled cookies. Use any odd-shaped cookie by crumbling and sprinkling crumbs on top for garnish.
Last Step: Please leave a rating and comment letting us know how you liked this recipe! This helps our business to thrive and continue providing free, high-quality recipes for you.
Nutrition
Did You Make This?
Leave a comment & rating below or tag
@natasharecipes on social media!
Categories:
You might also like...
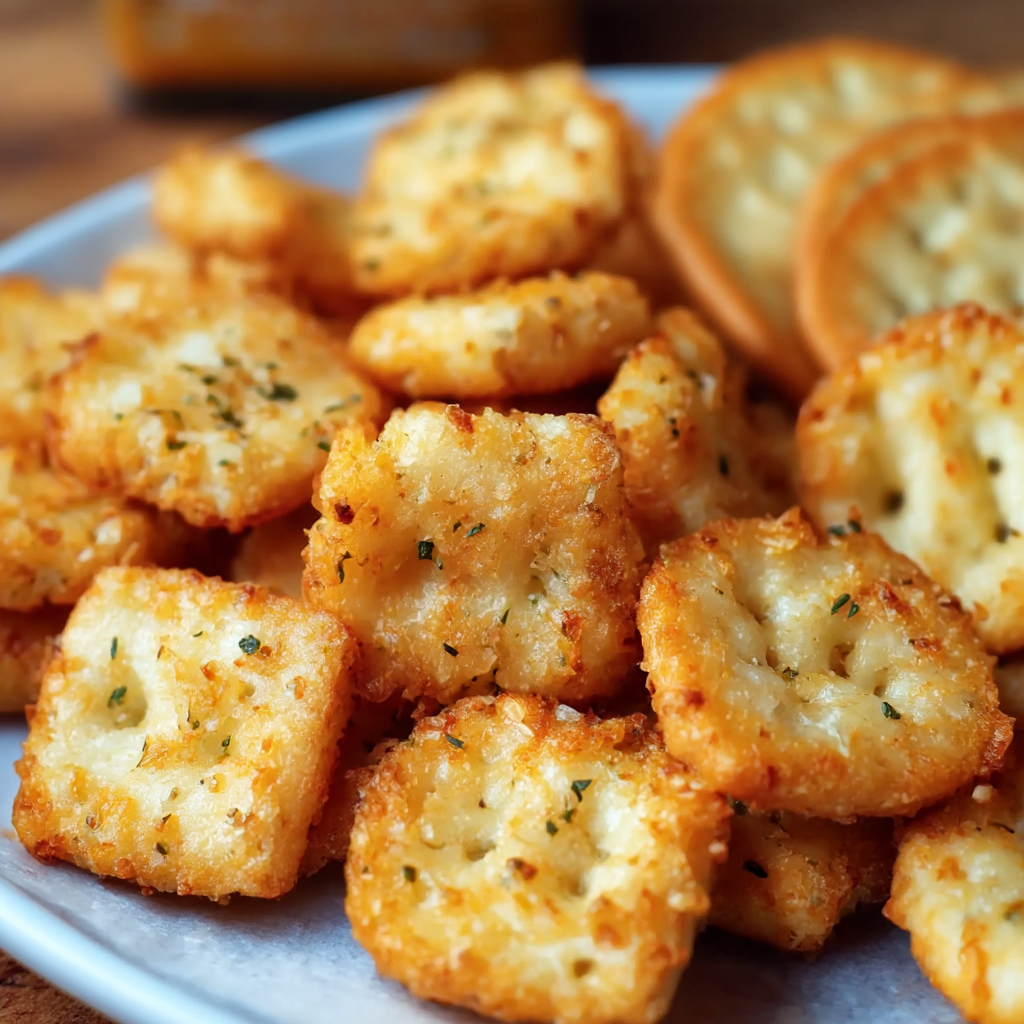
Garlic Bread Ritz Bits
Cheesy Ritz Bits tossed in garlic butter, Italian herbs, and parmesan, then baked until golden and irresistibly crisp — a perfect party snack or weeknight nibble.

Cucumber Melon Splash: Discover This Refreshing Drink Recipe!
A cooling and bright beverage made with fresh watermelon and cucumber, sparkling water, and a hint of lime. Perfect for hot afternoons and easy to make ahead.
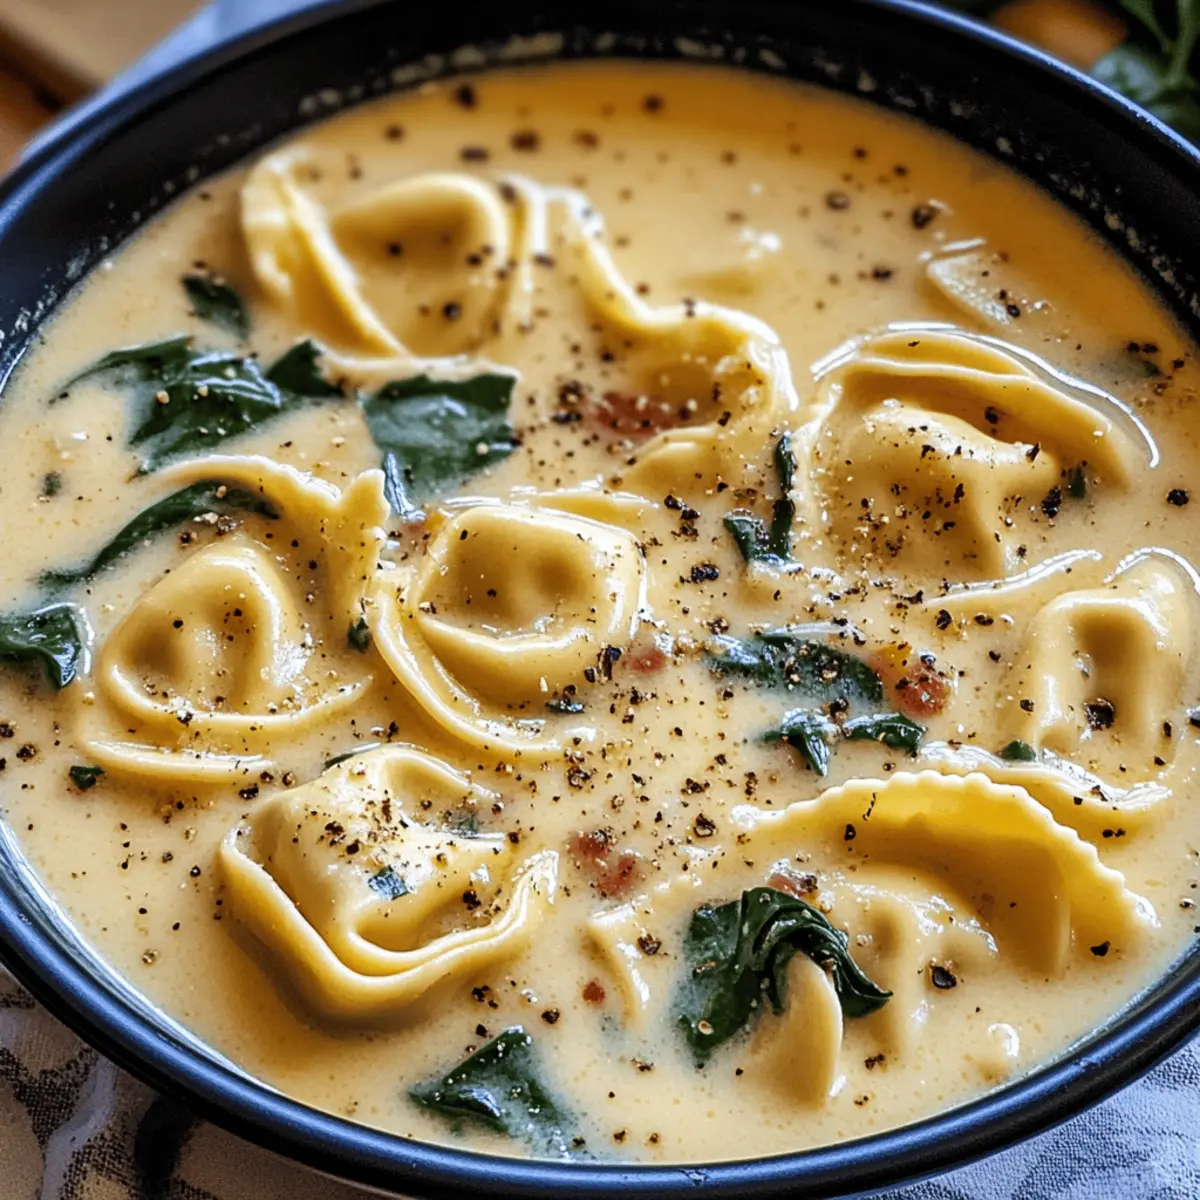
Creamy Tuscan Garlic Tortellini Soup: Your Cozy Italian Escape
A warm, vegetarian Tuscan-style soup with cheese tortellini, sun-dried tomatoes, spinach and a silky garlic cream — ready in just 30 minutes.
Did You Make This?
Leave a comment & rating below or tag @natasharecipes on social media!
Rate This Recipe
Share This Recipe
Enjoyed this recipe? Share it with friends and family, and don't forget to leave a review!
Comments (1)
This recipe looks amazing! Can't wait to try it.
Comments are stored locally in your browser. Server comments are displayed alongside your local comments.
Hi, I'm Natasha!
What's Popular
30-Minute Meals!
Join to receive our email series which contains a round-up of some of our quick and easy family favorite recipes.