
Mochi Brownies

A blissful hybrid of fudgy chocolate and chewy mochi that yields rich, slightly sticky squares with deep cocoa flavor and a springy bite.

This recipe blends two textures I adore: the dense, fudgy depth of a chocolate square and the gentle, chewy spring of mochi. I first tried this pairing on a rainy afternoon when I had a bag of mochiko sweet rice flour in the pantry and a craving for something intensely chocolatey but not cakey. The first bite surprised me; the exterior is set like a brownie while the interior gives a pleasant, elastic chew that keeps you coming back. It quickly became a favorite for potlucks and late-night treats in my house.
I remember bringing a pan to a small gathering and watching guests circle the plate, asking if the texture was intentional. Kids loved how it stuck slightly to their lips, and friends appreciated the depth from Dutch-processed cocoa and the pockets of chopped dark chocolate on top. These squares travel well and hold their flavor for a couple of days at room temperature, making them a go-to when I need a make-ahead dessert with an Asian-inspired twist.
Why You'll Love This Recipe
- The texture is the star: chewy, slightly sticky interior with a set, fudgy top for contrast and a satisfying bite.
- It uses pantry-friendly staples like mochiko flour, cocoa, sugar, and simple dairy, so you can make it on short notice.
- Ready in about 1 hour and 20 minutes total, with only 15 minutes of active prep time; great for busy schedules.
- Make-ahead and travel-friendly: cool completely, slice, and store in an airtight container for 2 to 3 days without losing texture.
- Customizable: swap whole milk for plant-based milk, choose natural or Dutch-processed cocoa, and fold in nuts or chocolate chips for extra texture.
On a personal note, this recipe has been a reliable crowd pleaser. My partner asked for it at a birthday once because he loved the chewiness combined with deep chocolate. It’s also become my answer when friends request something gluten-free yet familiar and indulgent.
Ingredients
- Mochiko sweet rice flour: Use 1 cup (about 8 ounces) of mochiko. This glutinous rice flour is what gives the interior its characteristic chew. I like Koda Farms mochiko because it’s finely milled and consistent.
- Unsweetened cocoa powder: 1/2 cup. I prefer Dutch-processed for a mellow, dark chocolate flavor, but natural cocoa works too for a brighter cocoa note.
- Granulated sugar: 1 cup. Provides structure and sweetness. For a deeper flavor, you can use half brown sugar or substitute a little maple syrup, but that will change the set.
- Baking powder: 1 1/2 teaspoons. A small lift helps the crumb set without becoming cakey.
- Unsalted butter: 5 tablespoons, melted. Butter gives richness and helps the top set with a faint crisp edge.
- Large eggs: 2. Eggs add structure and richness; beat them just until combined with the wet ingredients.
- Whole milk: 12 ounces (about 1 1/2 cups). This yields the right batter viscosity and adds creaminess. You can swap with full-fat plant milk for dairy-free options.
- Vanilla extract: 1 teaspoon. A small amount brightens the chocolate and balances sweetness.
- Chopped dark chocolate: 3 tablespoons, scattered on top for pockets of melting richness and a glossy finish when baked.
Instructions
Prepare and preheat:Preheat the oven to 350 degrees Fahrenheit and line an 8-by-8-inch baking pan with parchment paper, leaving a bit of overhang for easy removal. Proper lining ensures clean slices and prevents sticking.Combine dry ingredients:In a medium bowl whisk together 1 cup mochiko, 1/2 cup unsweetened cocoa powder, 1 cup granulated sugar, and 1 1/2 teaspoons baking powder until uniform. Sifting is optional but helps remove clumps from powdered cocoa.Whisk wet ingredients:In a larger bowl, whisk 5 tablespoons melted butter with 2 large eggs until smooth. Add 12 ounces whole milk and 1 teaspoon vanilla extract, whisking until no streaks of egg remain. Room-temperature eggs prevent curdling and ensure even mixing.Mix batter:Pour the dry mixture into the wet ingredients and fold with a rubber spatula until evenly combined. The batter will be thicker than a typical cake batter but pourable. Avoid overmixing; stop when no dry pockets remain.Transfer and top:Pour batter into the prepared pan, smoothing the surface gently. Sprinkle 3 tablespoons chopped dark chocolate evenly over the top so you get molten pockets and a shiny finish as it bakes.Bake until set:Bake at 350 F for 60 to 70 minutes. Rotate the pan halfway if your oven has hot spots. The center should appear set and slightly springy; a toothpick will come out mostly clean with a few moist crumbs. Avoid underbaking, because hot mochi is very sticky and difficult to slice.Cool completely and slice:Allow the pan to cool on a wire rack to room temperature, at least 2 hours, or refrigerate to speed cooling. Use the parchment overhang to lift the slab out and slice into 12 pieces with a sharp knife, wiping the blade between cuts for clean edges.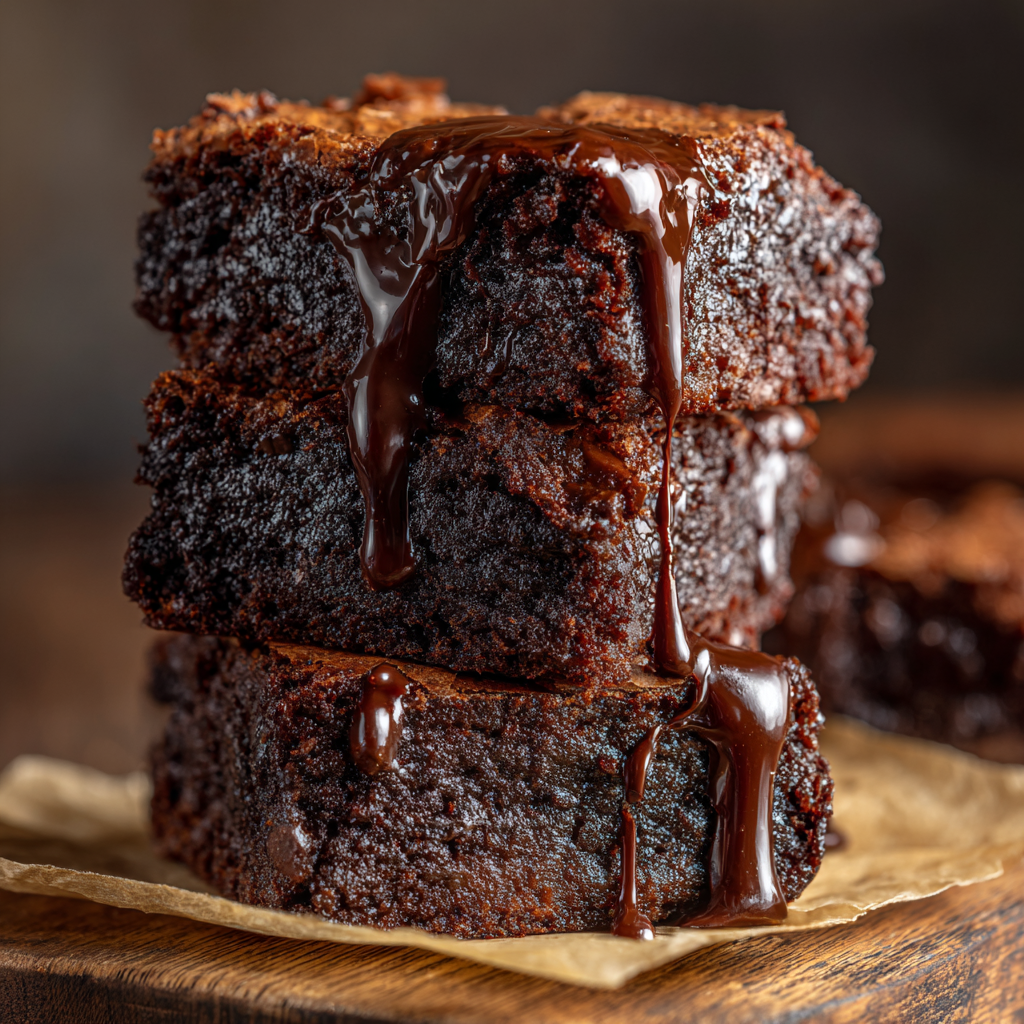
You Must Know
- Let the slab cool completely before slicing; hot mochi is too sticky and won’t yield neat squares.
- This keeps at room temperature in a sealed container for 2 to 3 days. For longer storage, freeze individually wrapped pieces for up to 3 months.
- These are naturally gluten-free because they use mochiko rather than wheat flour, but check labels on chocolate and cocoa if you need strict certification.
- The texture is influenced by baking time: slightly less time yields a softer, chewier interior; longer time firms the set more.
My favorite part is how versatile these are. I’ve swapped the dark chocolate topping for toasted sesame seeds and a drizzle of sweetened condensed milk for a party version. Friends who normally prefer chewy cookies are surprised at how quickly they reach for seconds. It’s a dessert that sparks conversation because of its unusual yet comforting texture.

Storage Tips
Store cooled pieces in a single layer in an airtight container at room temperature for up to 3 days. If stacking, separate layers with parchment paper to prevent sticking. To keep longer, wrap pieces tightly in plastic wrap and freeze in a sealed freezer bag for up to 3 months. Thaw at room temperature or warm gently in the microwave for 10 to 15 seconds to soften the center without making it too sticky.
Ingredient Substitutions
For dairy-free: replace melted butter with melted coconut oil and swap whole milk for full-fat coconut milk or an unsweetened almond milk; expect a slight coconut undertone. For lower sweetness: reduce sugar by 1/4 cup, but this will change texture and crumb slightly. If you prefer extra chocolate, fold 1/3 cup chocolate chips into the batter or scatter more chopped chocolate on top. Using natural cocoa instead of Dutch-processed will create a more acidic, brighter chocolate note.
Serving Suggestions
Serve slightly chilled or at room temperature. Garnish with a light dusting of powdered sugar or a sprinkle of flaky sea salt to accentuate the chocolate. These pair beautifully with green tea, strong black coffee, or a scoop of vanilla ice cream for contrast. For a party, cut into bite-sized squares and display on a platter with contrasting textures such as toasted sesame brittle.
Cultural Background
This hybrid draws on Japanese sweet rice flour tradition where mochiko is used to make chewy confections. Combining it with Western-style chocolate squares creates a fusion dessert that celebrates both textures: the glutinous chew of mochi and the rich chocolate profile of a classic brownie. Variations of rice-flour-based sweets are common across East Asia, and blending those textures with familiar flavors is a modern take that many family cooks have embraced.
Seasonal Adaptations
In winter, fold in 1/2 teaspoon ground cinnamon and top with chopped toasted pecans for warmth. In summer, swirl a fruit jam into the batter before baking and finish with fresh berries. During festive seasons, decorate slices with edible gold leaf or a dusting of matcha powder for a visual lift and complementary bitterness.
Meal Prep Tips
Make the slab ahead and refrigerate overnight for easier slicing in cleaner squares. Portion into single servings for lunchbox treats; they hold up well and don’t get soggy. If you plan to serve at a gathering, bake the day before and allow to come to room temperature; this lets the flavors harmonize and makes transport simpler.
These squares are a small, satisfying dessert that celebrates texture and chocolate in equal measure. They are forgiving enough for beginners and flexible enough for experienced cooks to experiment with flavors and toppings. Give them a try and make them your own.
Pro Tips
Let the baked slab cool completely before slicing to prevent sticking and tearing.
For cleaner slices, refrigerate the slab for 30 minutes before cutting and wipe the knife between each cut.
Use room-temperature eggs to ensure even mixing and avoid curdling when combining wet ingredients.
Rotate the pan halfway through baking if your oven heats unevenly to ensure uniform set.
This nourishing mochi brownies recipe is sure to be a staple in your kitchen. Enjoy every moist, high protein slice — it is perfect for breakfast or as a wholesome snack any time.
Tags
Mochi Brownies
This Mochi Brownies recipe makes perfectly juicy, tender, and flavorful steak every time! Serve with potatoes and a side salad for an unforgettable dinner in under 30 minutes.
Ingredients
Dry ingredients
Wet ingredients
Topping
Instructions
Preheat and prepare pan
Preheat oven to 350 F and line an 8x8-inch pan with parchment paper with overhang for easy removal.
Mix dry ingredients
Whisk mochiko, cocoa powder, sugar, and baking powder in a medium bowl until evenly combined.
Combine wet ingredients
In a larger bowl combine melted butter, eggs, milk, and vanilla. Whisk until smooth and no egg streaks remain.
Form the batter
Add dry ingredients to wet and fold until just combined into a thick, even batter. Avoid overmixing.
Transfer and top
Pour batter into prepared pan and sprinkle chopped dark chocolate evenly over the surface.
Bake until set
Bake 60 to 70 minutes at 350 F until the center is set and a toothpick comes out mostly clean. Rotate halfway if necessary.
Cool and slice
Cool completely on a wire rack, use parchment overhang to lift out, and slice into 12 pieces with a sharp knife for clean edges.
Last Step: Please leave a rating and comment letting us know how you liked this recipe! This helps our business to thrive and continue providing free, high-quality recipes for you.
Nutrition
Did You Make This?
Leave a comment & rating below or tag
@natasharecipes on social media!
Categories:
You might also like...
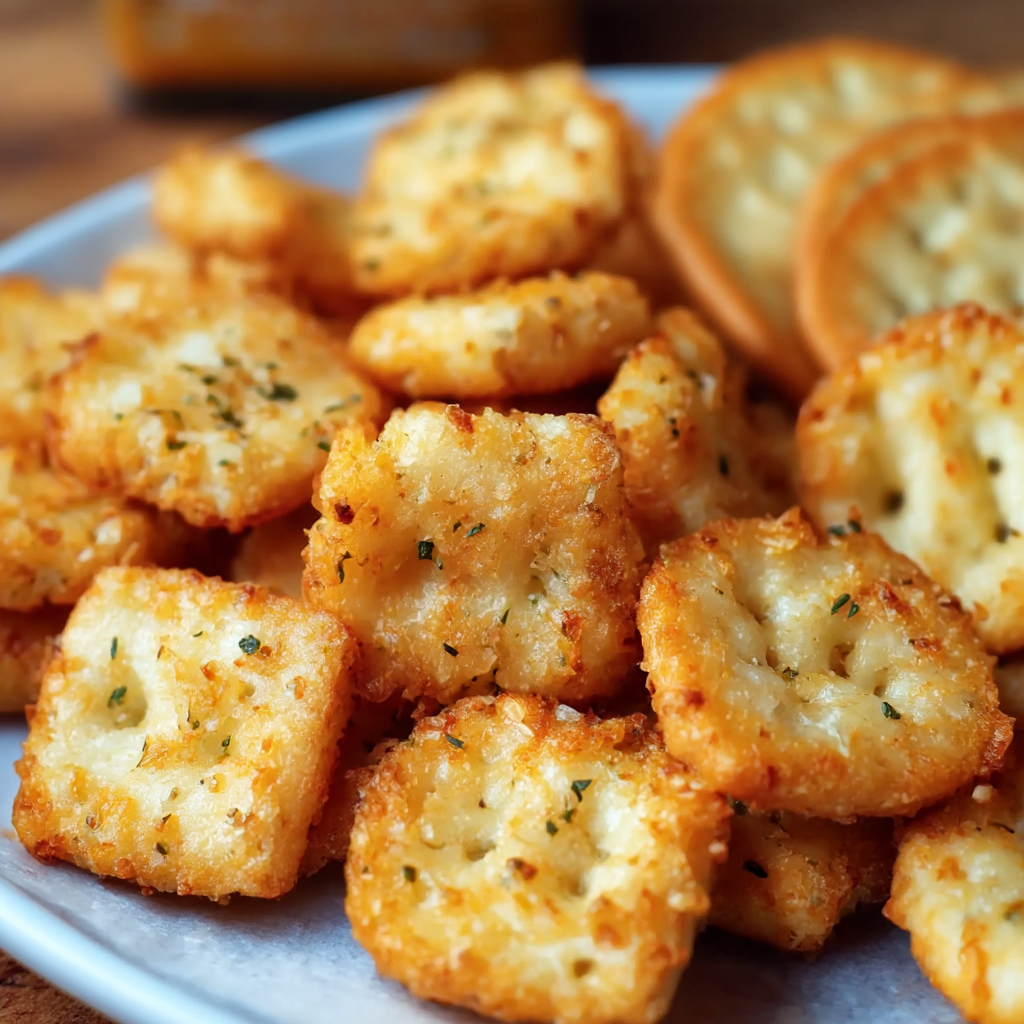
Garlic Bread Ritz Bits
Cheesy Ritz Bits tossed in garlic butter, Italian herbs, and parmesan, then baked until golden and irresistibly crisp — a perfect party snack or weeknight nibble.

Cucumber Melon Splash: Discover This Refreshing Drink Recipe!
A cooling and bright beverage made with fresh watermelon and cucumber, sparkling water, and a hint of lime. Perfect for hot afternoons and easy to make ahead.

Creamy Tuscan Garlic Tortellini Soup: Your Cozy Italian Escape
A warm, vegetarian Tuscan-style soup with cheese tortellini, sun-dried tomatoes, spinach and a silky garlic cream — ready in just 30 minutes.
Did You Make This?
Leave a comment & rating below or tag @natasharecipes on social media!
Rate This Recipe
Share This Recipe
Enjoyed this recipe? Share it with friends and family, and don't forget to leave a review!
Comments (1)
This recipe looks amazing! Can't wait to try it.
Comments are stored locally in your browser. Server comments are displayed alongside your local comments.
Hi, I'm Natasha!
What's Popular

30-Minute Meals!
Join to receive our email series which contains a round-up of some of our quick and easy family favorite recipes.