
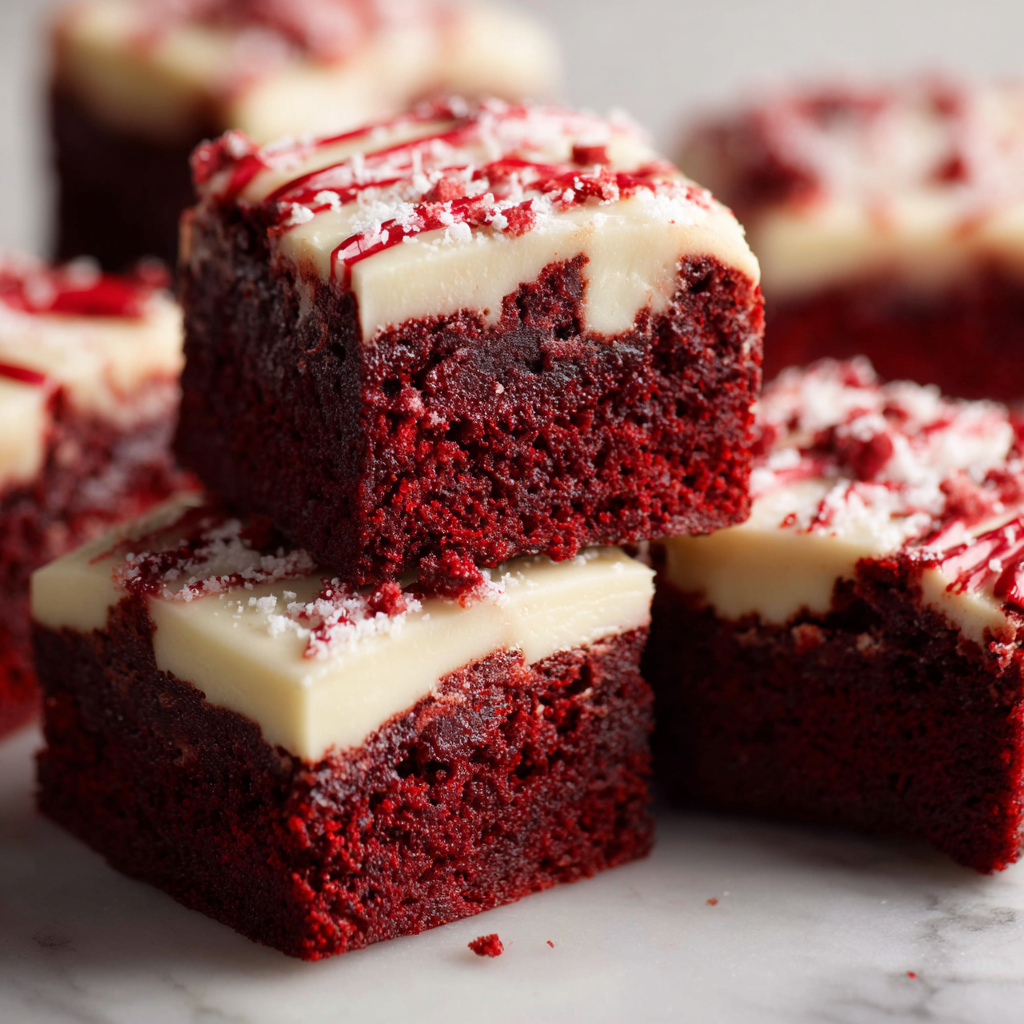
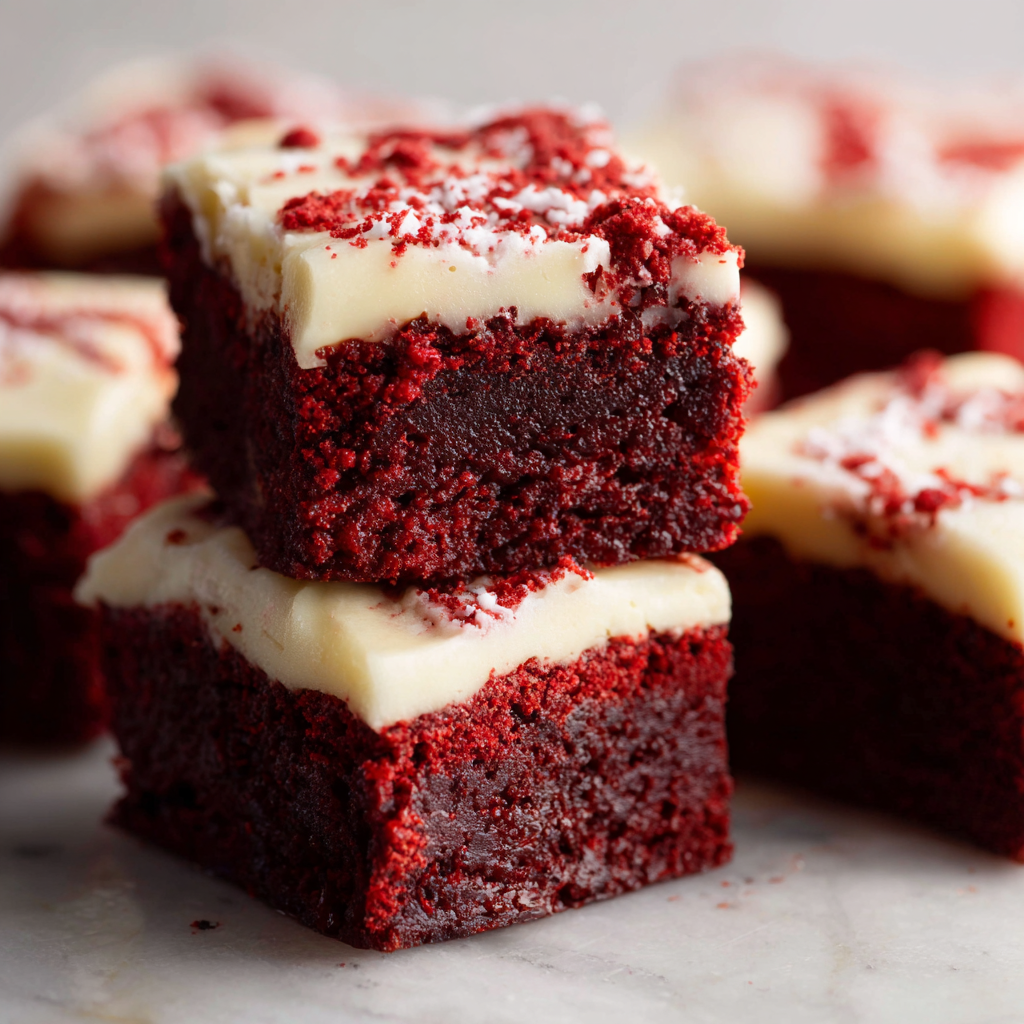
Perfectly Fudgy Red Velvet Brownies

Rich, fudgy red velvet squares topped with a silky cream cheese frosting—easy to make, crowd-pleasing, and perfect for celebrations or everyday treats.
This recipe for red velvet brownies has been a holiday and celebration staple in my kitchen ever since I adapted it from a bakery favorite six years ago. I remember the first time I baked a batch: the house filled with a warm, cocoa-sweet aroma and the first forkful revealed a fudgy center with a tender crumb and a striking crimson hue. I learned quickly that the key to these squares is a careful balance of fat, sugar, and minimal aeration—enough to keep them dense and gooey rather than cakey.
I discovered this combination during a weekend when I wanted something more decadent than a regular brownie but less fussy than a layer cake. The result was so good that friends began asking for the recipe at every gathering. What makes these particularly special is the cream cheese frosting: tangy, silky, and not overly sweet, it cuts through the richness and turns an ordinary brownie into something that feels celebratory. Every time I take them to a potluck they disappear first, and my kids insist these are the best brownies I make.
Why You'll Love This Recipe
- Fudgy texture with a glossy top: short mixing and a higher fat ratio ensure a dense, moist center rather than a cake-like crumb.
- Quick to prepare: about 10 minutes active work and 30 minutes in the oven—perfect for last-minute desserts or weeknight baking.
- Uses pantry staples: basic ingredients like cocoa, flour, sugar, and a little vinegar create authentic red velvet flavor without specialty items.
- Make-ahead friendly: baked squares keep well in the fridge for up to 4 days and freeze beautifully for up to 3 months.
- Crowd-pleaser: the color and cream cheese topping make these ideal for parties, bake sales, or as a festive treat for holidays.
- Customizable: add white chocolate chips, chopped nuts, or swirl extra frosting for visual flair and textural contrast.
I first served these at a small winter potluck and later refined the steps to eliminate any cakiness. Family reaction was unanimous: these became the new favorite. Over time I experimented with less sugar in the frosting and a short rest period after baking to get cleaner slices—little adjustments that made a big difference.
Ingredients
- Unsalted butter: 3/4 stick (6 tablespoons). Use high-quality butter such as Kerrygold or Plugrá for depth of flavor; melt gently so it does not scorch. Butter controls richness and helps the top set with a glossy sheen.
- Granulated sugar: 1 cup. Using regular white cane sugar keeps the crumb tender and the crust shiny; do not substitute with fine baker's sugar or the texture will change.
- Light brown sugar: 1/4 cup packed. Adds a subtle molasses note and keeps the interior moist; pack it lightly for accurate measure.
- Eggs and yolk: 3 large eggs plus 1 large yolk. Eggs provide structure and gloss; the extra yolk enriches the crumb for a fudgier result—use room temperature eggs for best incorporation.
- Vanilla extract: 1 teaspoon. Pure vanilla complements cocoa and cream cheese; avoid imitation flavors for the best aroma.
- Vegetable oil: 1/3 cup. Neutral oil (canola or vegetable) keeps the center very tender—combine with butter so you get both flavor and a soft bite.
- Cocoa powder: 1/4 cup, preferably Dutch-processed for a deeper color and smoother flavor. Measure by spooning into the cup and leveling for accuracy.
- All-purpose flour: 3/4 cup. Spoon and level to avoid overpacking; too much flour will yield cakier squares.
- Cornstarch: 1 tablespoon. A small addition that helps create the glossy brownie top and slightly tenderizes the crumb.
- Vinegar: 1 tablespoon (white or apple cider). Reacts with the cocoa and baking environment to brighten flavor and intensify the red shade when combined with food coloring.
- Salt: 1/4 teaspoon. Balances sweetness and enhances cocoa notes.
- Red food coloring: 1/2 teaspoon gel. Gel color delivers vivid hue without adding liquid; adjust to preference for a more intense color.
- White chocolate chips (optional): 3/4 cup. If you like pops of sweetness and contrast, fold them in; otherwise skip for a purer cocoa bite.
- For the frosting: cream cheese 4 ounces (room temperature), 3/4 stick unsalted butter (6 tablespoons, room temperature), 4 cups powdered sugar, and 1 teaspoon vanilla extract. Use full-fat cream cheese for stability and flavor.
Instructions
Step 1: Prep the pan and oven Preheat the oven to 350°F. Line an 8- or 9-inch square pan with parchment paper leaving a little overhang for easy removal. The lined pan ensures even baking and clean edges when slicing. Step 2: Melt butter and combine sugars Melt 3/4 stick butter in short bursts in the microwave or gently on the stove. Whisk the melted butter with 1 cup granulated sugar and 1/4 cup light brown sugar until glossy. This step dissolves the sugars and starts the emulsion that gives brownies their shiny top. Step 3: Add eggs and flavor Whisk in 3 large eggs and 1 large yolk and 1 teaspoon vanilla. Stir only until combined; overbeating incorporates air that can produce a cake-like texture rather than the desired dense fudginess. Step 4: Incorporate oil and cocoa Add 1/3 cup vegetable oil and 1/4 cup cocoa powder. Stir gently until there are no dry pockets—keep mixing minimal to protect that dense structure. Step 5: Color the batter Take 2 tablespoons of batter into a small bowl, add 1/2 teaspoon red gel coloring and stir until uniform. Return colored batter to the main bowl and gently fold to achieve an even red hue. Step 6: Fold dry ingredients Switch to a spatula and fold in 3/4 cup all-purpose flour, 1 tablespoon cornstarch, and 1/4 teaspoon salt. Fold until just combined. Add 1 tablespoon vinegar and mix briefly to distribute—this will subtly lift the red color and flavor. Step 7: Add mix-ins and bake If using, fold in 3/4 cup white chocolate chips. Pour batter into the prepared pan, smooth the top, and bake for 20 to 25 minutes. Test with a skewer: it should come out with moist crumbs but not wet batter. Allow to cool completely before frosting to avoid melting the topping. Step 8: Make the frosting Beat 4 ounces room-temperature cream cheese with 3/4 stick room-temperature butter until smooth. Gradually add 4 cups powdered sugar, then beat on high for a minute until light and fluffy. Stir in 1 teaspoon vanilla. Spread over cooled squares and chill briefly so slices hold clean edges.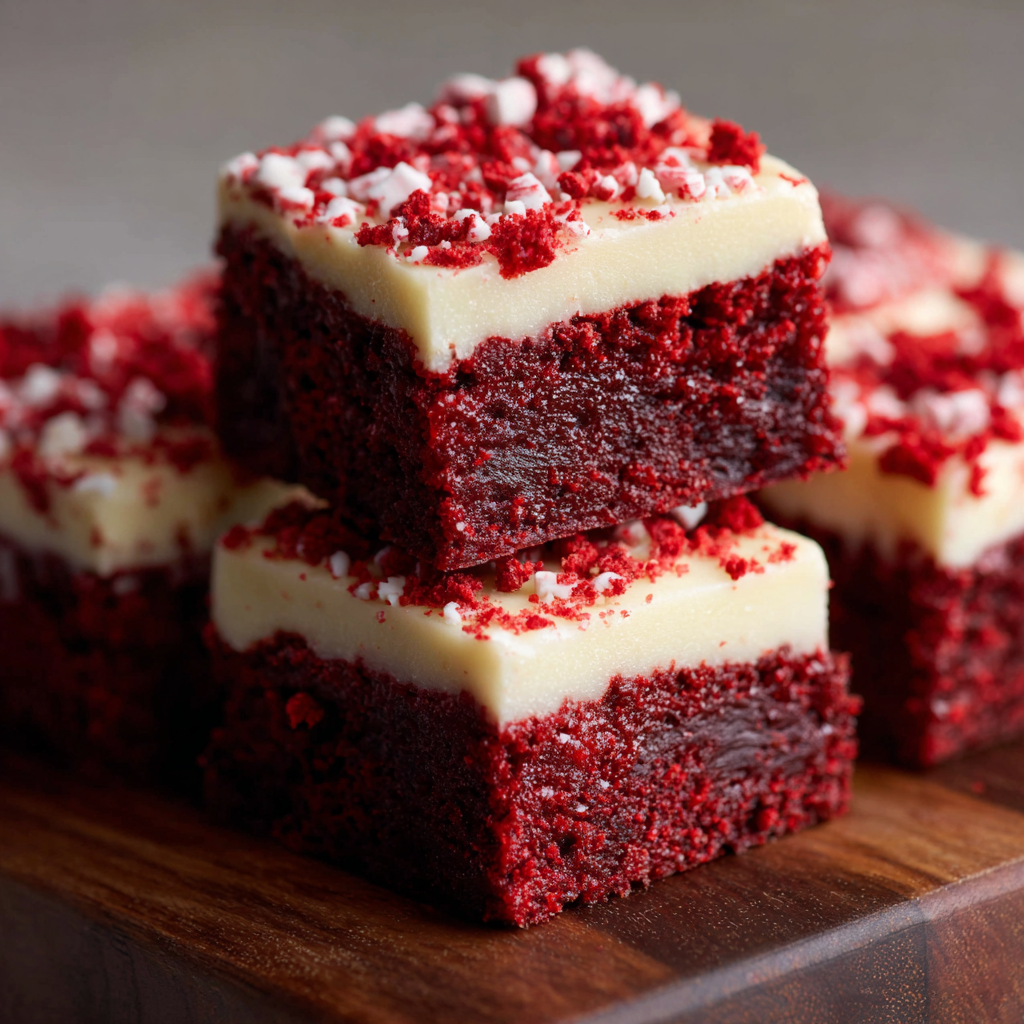
You Must Know
- These brownies keep in an airtight container in the refrigerator for up to 4 days; they freeze well for up to 3 months—wrap slices individually for best results.
- Allow the baked squares to cool fully before frosting; a warm surface will make the frosting slide and create uneven slices.
- The small addition of cornstarch and the extra yolk help create a glossy top and dense interior—do not omit them unless you want a different texture.
- Use gel food coloring for the best hue without adding liquid that would change the batter consistency.
My favorite part of this recipe is the way the tangy frosting balances the fudgy base. At a recent birthday gathering, a guest commented that these tasted like a cross between a brownie and a small slice of red velvet cake—high praise. Over the years I have learned to let the baked squares rest completely and to chill briefly after frosting; these two small steps make slicing cleaner and presentation much more polished.
Storage Tips
Store cooled and frosted squares in an airtight container in the refrigerator for up to 4 days. If you prefer room temperature for serving, remove from the fridge 30 minutes before serving to let the frosting soften. For longer storage, freeze uncut slabs wrapped tightly in plastic and foil for up to 3 months; thaw overnight in the refrigerator and bring to room temperature before slicing. If you freeze individual slices, place parchment between layers to prevent sticking. Reheat briefly (10 to 15 seconds) in the microwave for a warm, gooey bite.
Ingredient Substitutions
To make these dairy-free, substitute vegan butter and a vegan cream cheese alternative; texture will be slightly different but still delicious. For a gluten-free version, replace the flour with a 1-to-1 gluten-free blend and add a touch more cornstarch if the batter seems loose. If you prefer less sugar in the frosting, reduce powdered sugar to 3 cups and add a teaspoon of milk if needed to reach spreadable consistency. Swap white chocolate chips for semi-sweet or dark for more contrast.
Serving Suggestions
Serve squares chilled or at room temperature. Garnish with a light dusting of cocoa or a few white chocolate shavings for visual appeal. These pair beautifully with a scoop of vanilla ice cream, a dollop of whipped cream, or a cup of strong coffee. For a festive presentation, cut into small bite-size pieces for a dessert platter or into larger squares for single-serve treats at gatherings.
Cultural Background
Red velvet owes much of its popularity to Southern United States baking traditions and the love of visually striking desserts. Originally the color came from a reaction between acidic ingredients and cocoa; modern recipes rely on food coloring for vibrancy. Brownie-style adaptations bring the beloved flavor into a denser form, making it easier to serve at casual events while keeping the signature tang from buttermilk or vinegar paired with a cream cheese topping.
Seasonal Adaptations
In winter, add a pinch of cinnamon and nutmeg to the batter for warm spice notes. For spring or summer, fold in raspberries or top with fresh berries to add bright acidity and color contrast. Around holidays, sprinkle edible glitter or colored sprinkles on the frosting. For Valentine’s Day, pipe small hearts of extra frosting on each square for a romantic touch.
Meal Prep Tips
Bake a full pan on Sunday and keep in the fridge for easy dessert through the week. Cut into uniform squares using a knife warmed under hot water for clean edges—wiping the knife between cuts helps. For lunches, package single slices in airtight containers; they travel well and make a sweet treat without fuss. If prepping multiple pans, label and freeze extras to keep on hand for unexpected guests.
These red velvet brownies are a dependable, show-stopping treat that combine simple techniques with a little careful timing. Whether for a casual weeknight dessert or a centerpiece at a celebration, they bring a mix of nostalgia, comfort, and visual delight to the table. Try them once and they’ll likely become a repeat request in your household too.
Pro Tips
Use room-temperature eggs and cream cheese for smoother batter and frosting.
Do not overmix after adding flour; folding just until combined keeps the texture fudgy.
Allow brownies to cool completely before frosting to prevent melting and sliding.
Test doneness with a skewer: it should come out with moist crumbs, not wet batter.
This nourishing perfectly fudgy red velvet brownies recipe is sure to be a staple in your kitchen. Enjoy every moist, high protein slice — it is perfect for breakfast or as a wholesome snack any time.
Tags
Perfectly Fudgy Red Velvet Brownies
This Perfectly Fudgy Red Velvet Brownies recipe makes perfectly juicy, tender, and flavorful steak every time! Serve with potatoes and a side salad for an unforgettable dinner in under 30 minutes.
Ingredients
Brownies
Cream Cheese Frosting
Instructions
Prepare pan and preheat oven
Preheat oven to 350°F. Line an 8- or 9-inch square pan with parchment paper leaving an overhang to lift brownies out easily after cooling.
Melt butter and combine sugars
Melt 3/4 stick butter and whisk together with 1 cup granulated sugar and 1/4 cup light brown sugar until glossy and combined.
Add eggs and vanilla
Whisk in 3 large eggs, 1 yolk, and 1 teaspoon vanilla until just combined; avoid overbeating to keep the texture dense.
Add oil and cocoa
Stir in 1/3 cup vegetable oil and 1/4 cup cocoa powder until smooth, keeping mixing minimal to preserve fudginess.
Color the batter
Mix a couple tablespoons of batter with 1/2 teaspoon red gel food coloring in a small bowl, then fold back into main batter until evenly colored.
Fold dry ingredients
Fold in 3/4 cup all-purpose flour, 1 tablespoon cornstarch, and 1/4 teaspoon salt with a spatula until no streaks of flour remain. Add 1 tablespoon vinegar and mix briefly.
Add chips and bake
Fold in 3/4 cup white chocolate chips if using. Pour into prepared pan and bake 20 to 25 minutes until a skewer comes out with moist crumbs. Cool completely before frosting.
Make frosting and finish
Beat 4 ounces room-temperature cream cheese with 3/4 stick room-temperature butter until smooth. Add 4 cups powdered sugar slowly, beat until fluffy, stir in 1 teaspoon vanilla, and spread over cooled brownies. Chill briefly for cleaner slices.
Last Step: Please leave a rating and comment letting us know how you liked this recipe! This helps our business to thrive and continue providing free, high-quality recipes for you.
Nutrition
Did You Make This?
Leave a comment & rating below or tag
@natasharecipes on social media!
Categories:
You might also like...
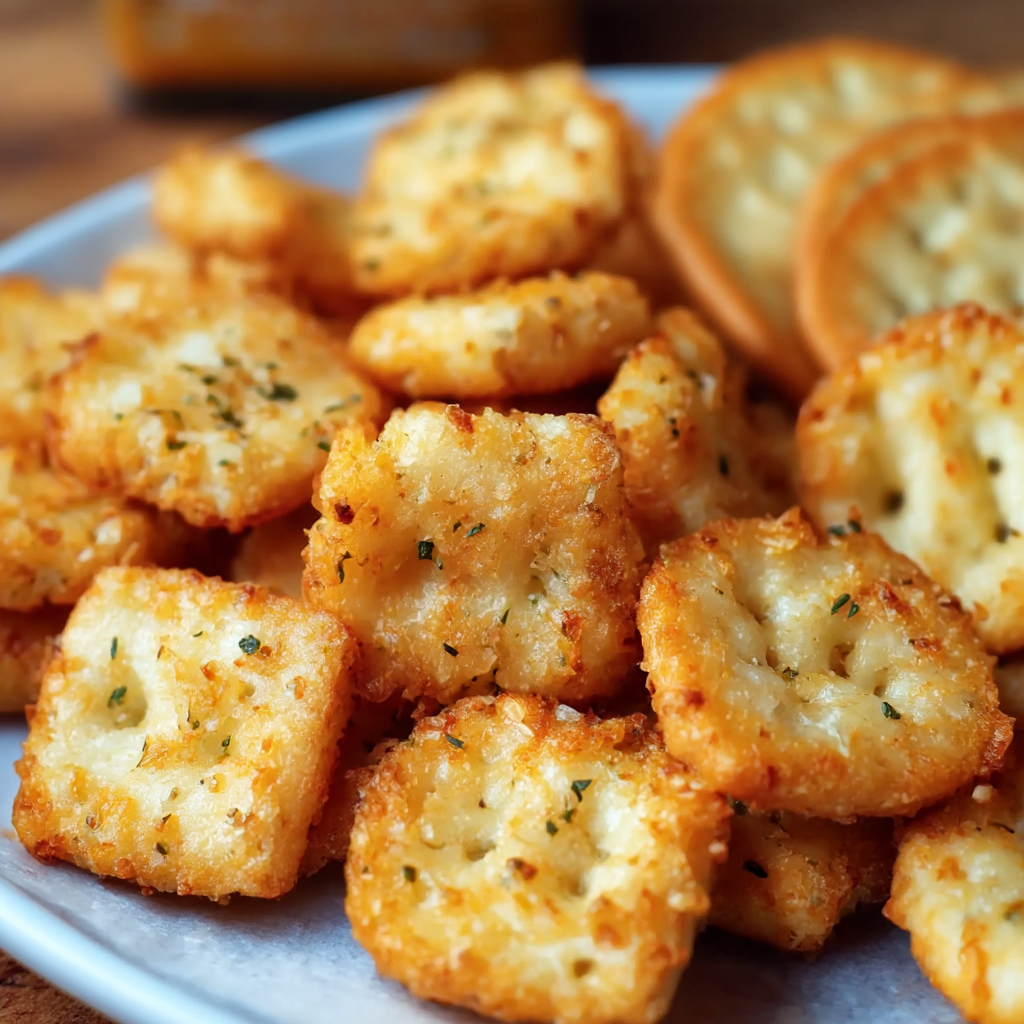
Garlic Bread Ritz Bits
Cheesy Ritz Bits tossed in garlic butter, Italian herbs, and parmesan, then baked until golden and irresistibly crisp — a perfect party snack or weeknight nibble.

Cucumber Melon Splash: Discover This Refreshing Drink Recipe!
A cooling and bright beverage made with fresh watermelon and cucumber, sparkling water, and a hint of lime. Perfect for hot afternoons and easy to make ahead.
Creamy Tuscan Garlic Tortellini Soup: Your Cozy Italian Escape
A warm, vegetarian Tuscan-style soup with cheese tortellini, sun-dried tomatoes, spinach and a silky garlic cream — ready in just 30 minutes.
Did You Make This?
Leave a comment & rating below or tag @natasharecipes on social media!
Rate This Recipe
Share This Recipe
Enjoyed this recipe? Share it with friends and family, and don't forget to leave a review!
Comments (1)
This recipe looks amazing! Can't wait to try it.
Comments are stored locally in your browser. Server comments are displayed alongside your local comments.
Hi, I'm Natasha!
What's Popular
30-Minute Meals!
Join to receive our email series which contains a round-up of some of our quick and easy family favorite recipes.